Today, my daughter wants to share how she's getting ready for school. She has found some of her own partially used spiral notebooks and is spiffing them up with new covers. Here's her tutorial!

The school supply list for seventh grade included spiral notebooks. Last year, I used only a few pages from each of my notebooks, so I decided to tear out the used pages and make the books new covers, because the old ones were all falling off, and I liked what I ended up with so much I decided to make a tutorial.
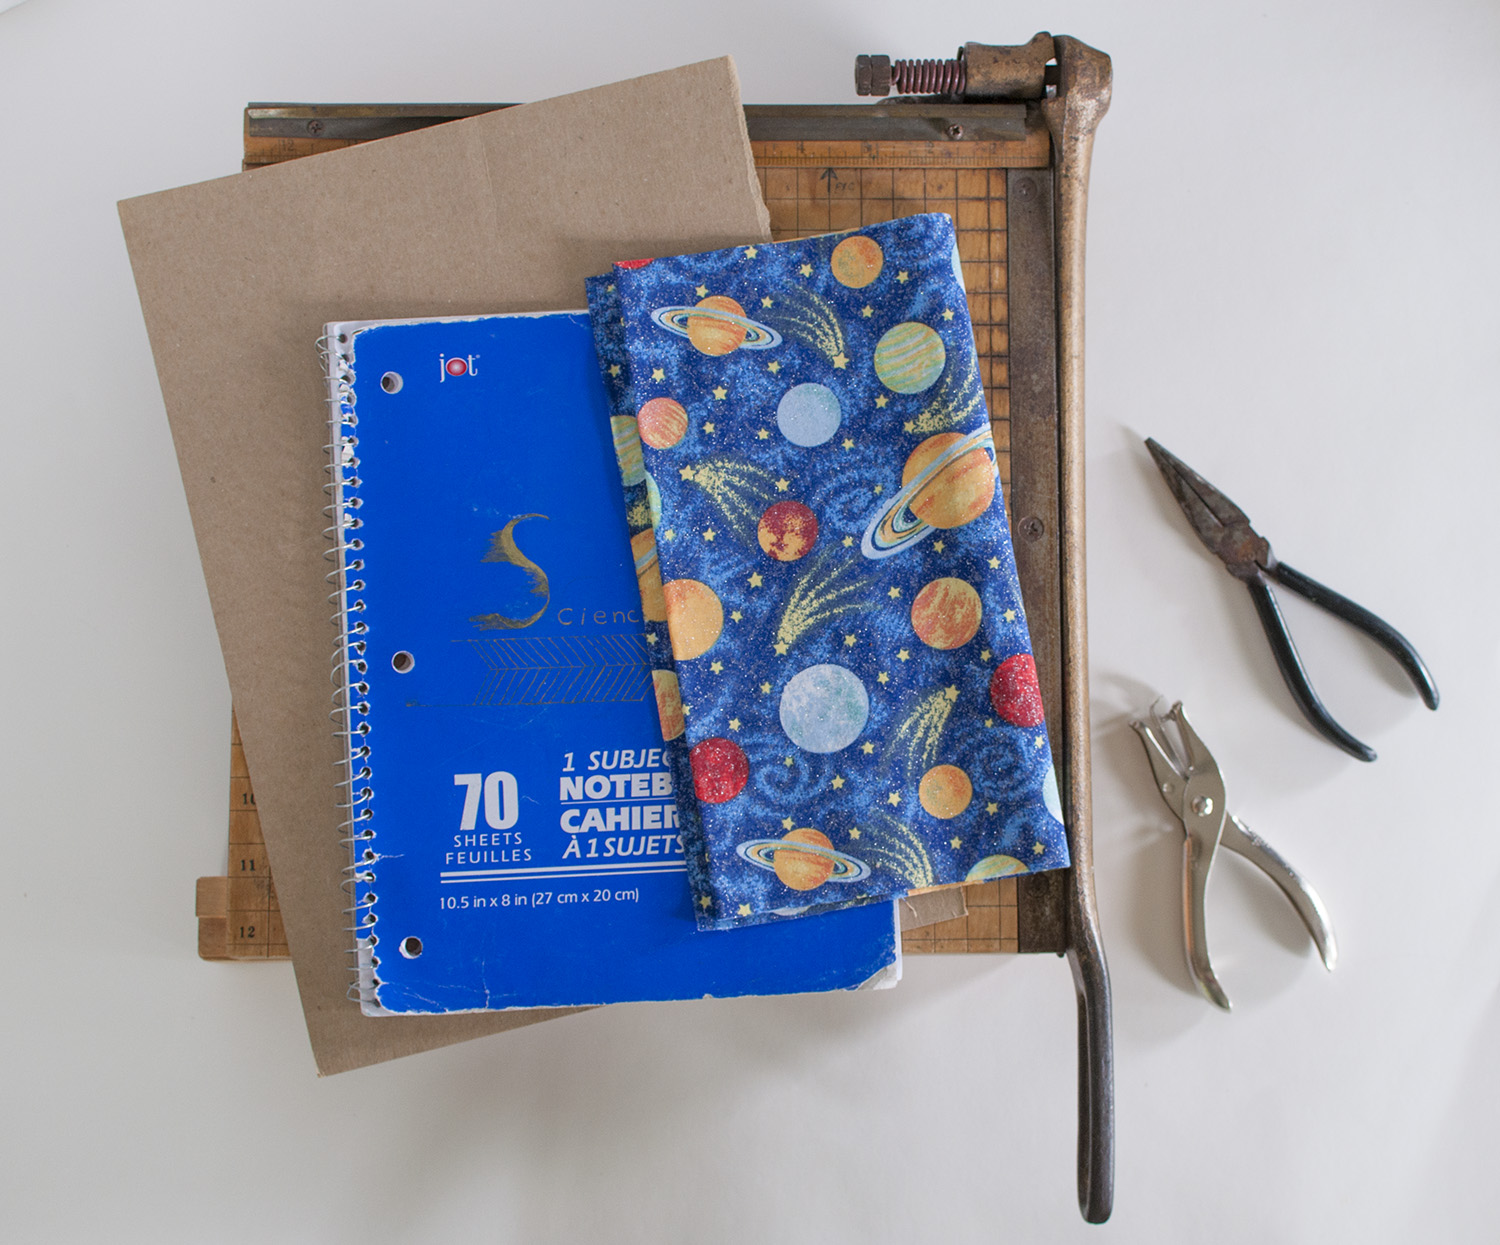
The supplies for stage 1 include the back of a legal pad, (or you can use other thin cardboard), a paper cutter, (or scissors, if you can cut through the material you are using), a small hole punch, needle-nose pliers, Scotch-Tape, a pencil, and eraser.

To begin, use the pliers to unbend the wire at either end of the spiral, so that it can be twisted out.

Next, I twist the spiral until it is completely free of the papers. Then Scotch-Tape the pages and back cover together so they don't go all over the place and set them aside.
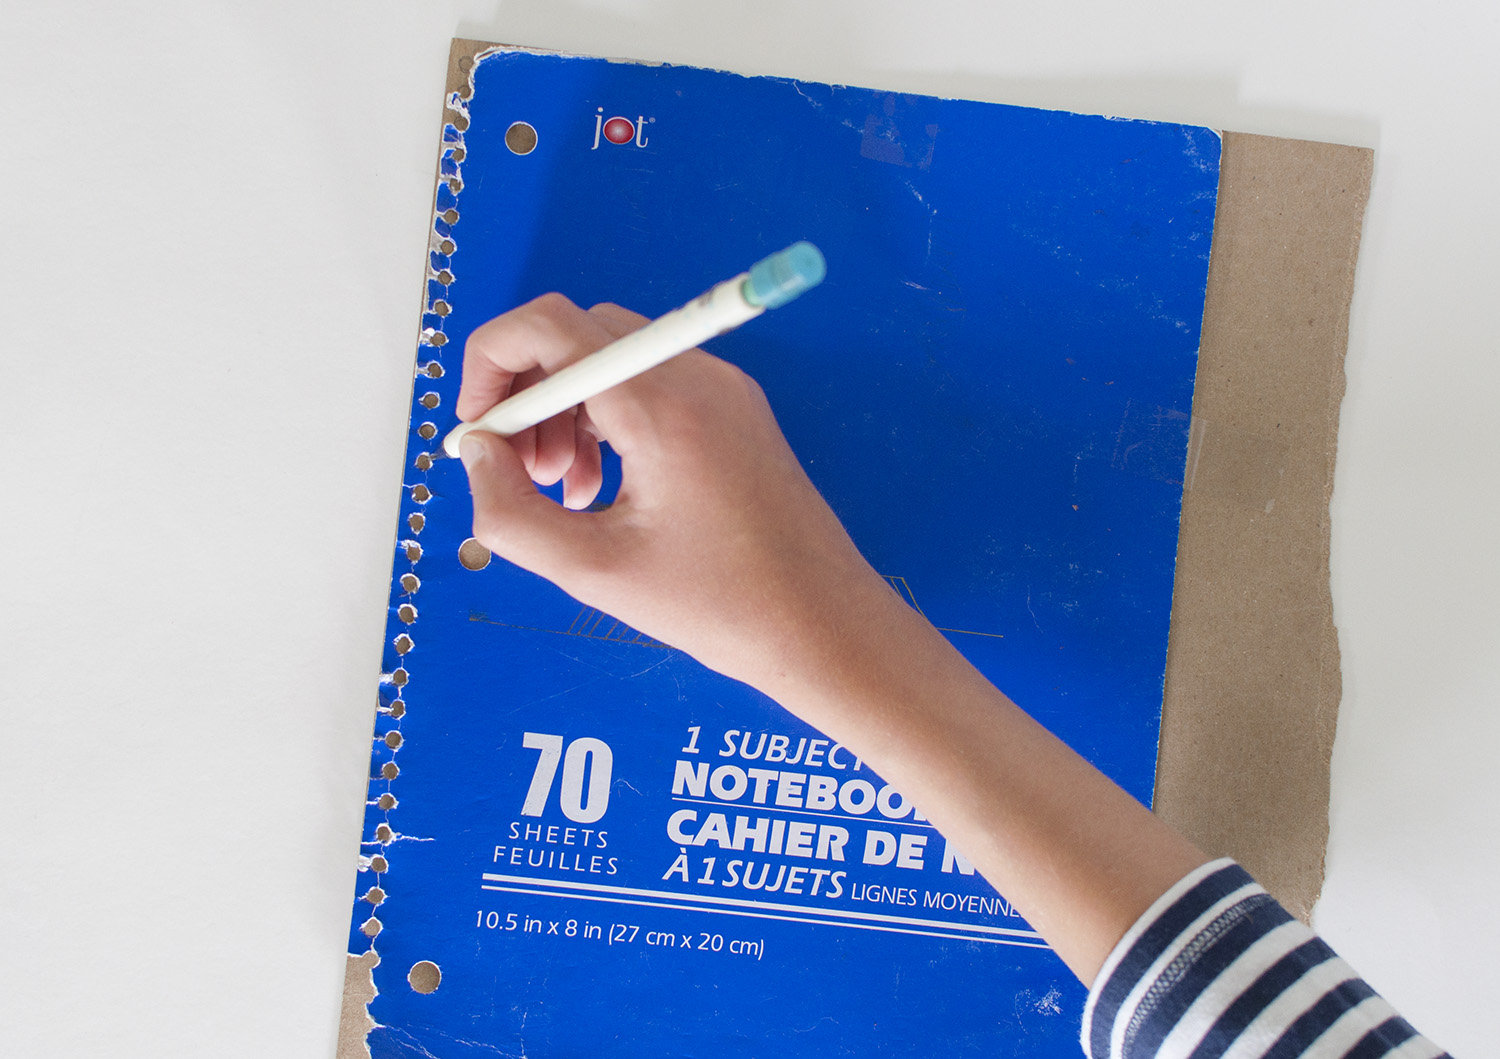
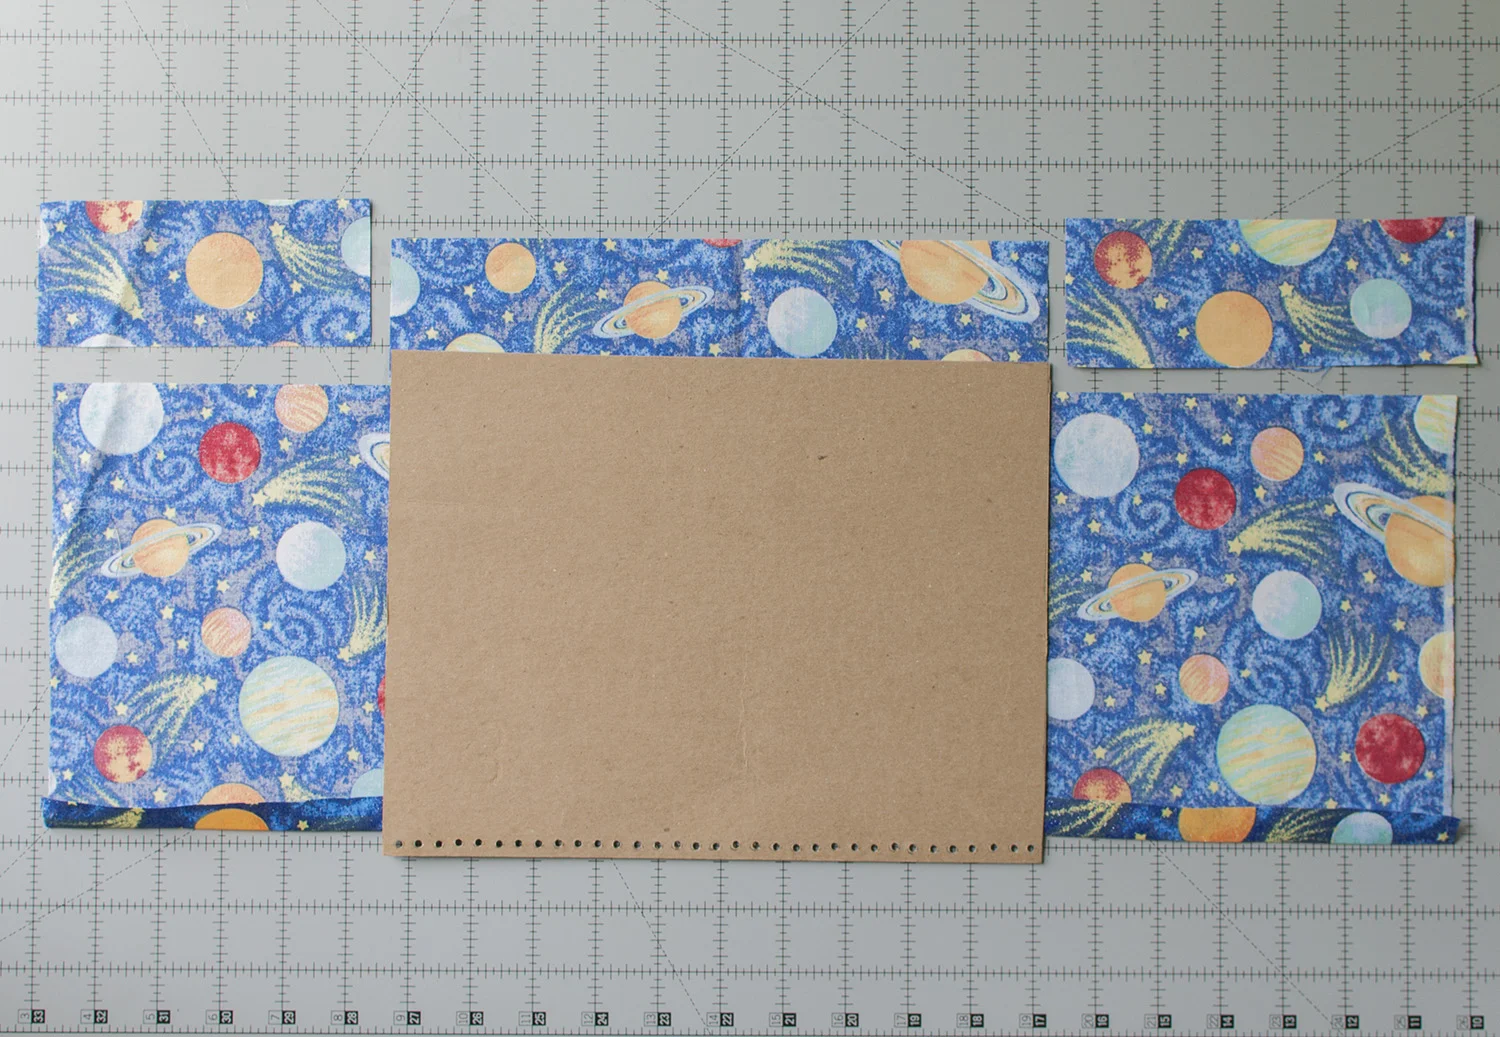
Tape the cover to the legal pad back as shown, and trace all the holes and around the edges.

Next, use the hole punch to cut all of the holes, then cut along the lines with the paper cutter as shown below.

PART TWO:
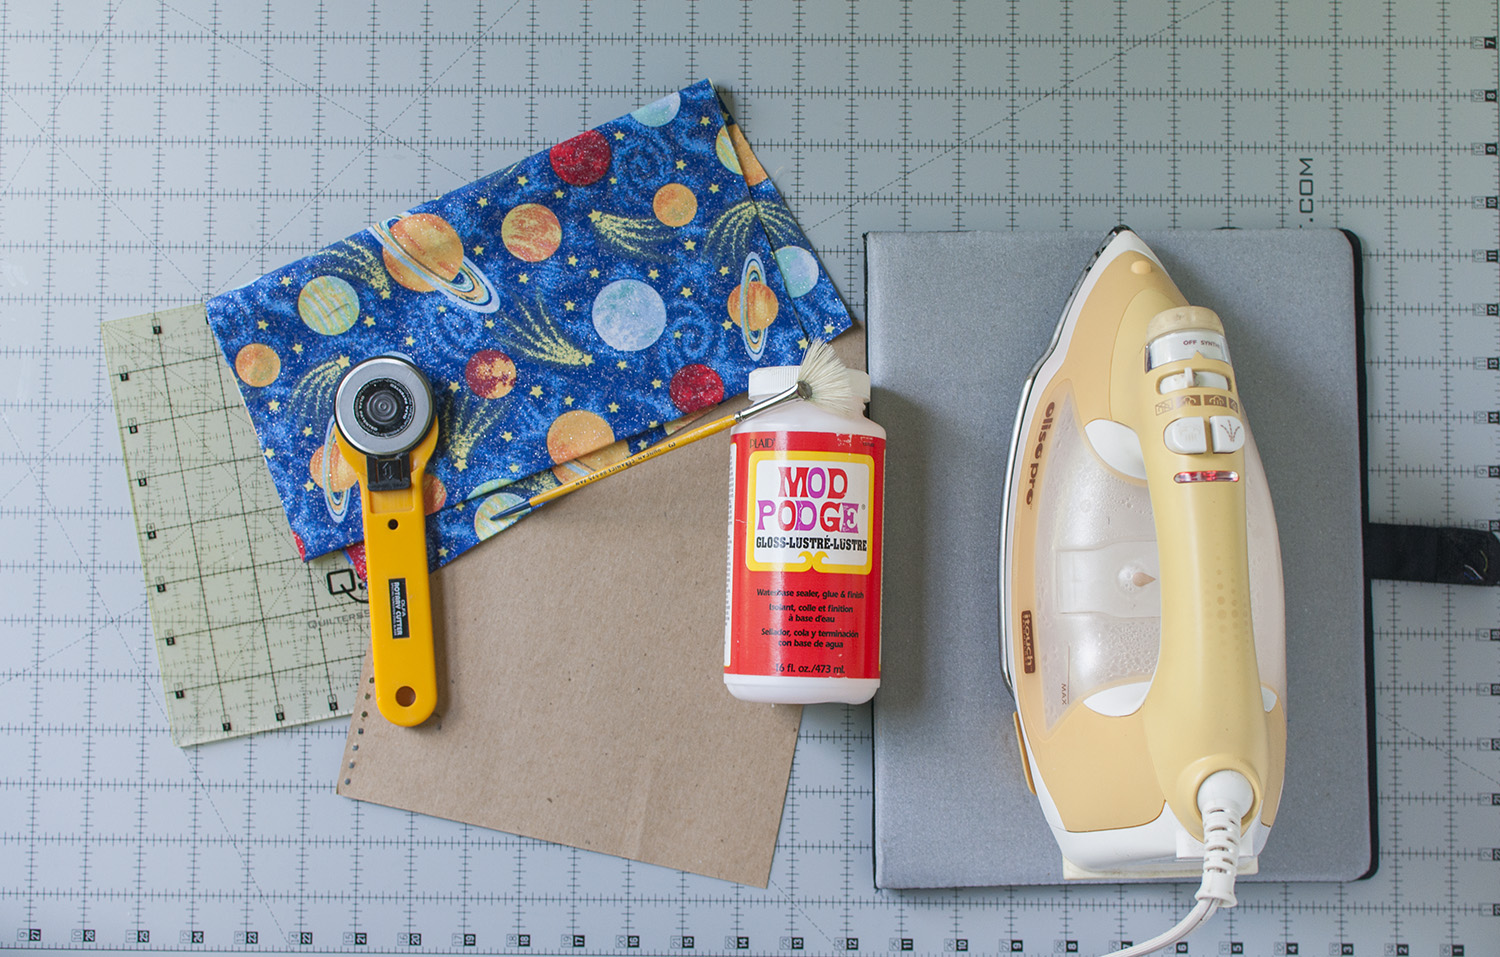
The supplies for stage two of the project include an iron and ironing board, Mod-Podge and brush, a chosen fabric, the prepared card board, a rotary cutter, cutting mat, and ruler.
Press your fabric first, and press a fold into the edge of the fabric as shown. Lay the cardboard on top of it with the holes hanging off the folded edge. Cut the top corners away like the picture shows, 1/2 of an inch past the edge of the cardboard.

Now, for the Mod-Podge! brush one side of the cardboard, and line it up on the fabric.
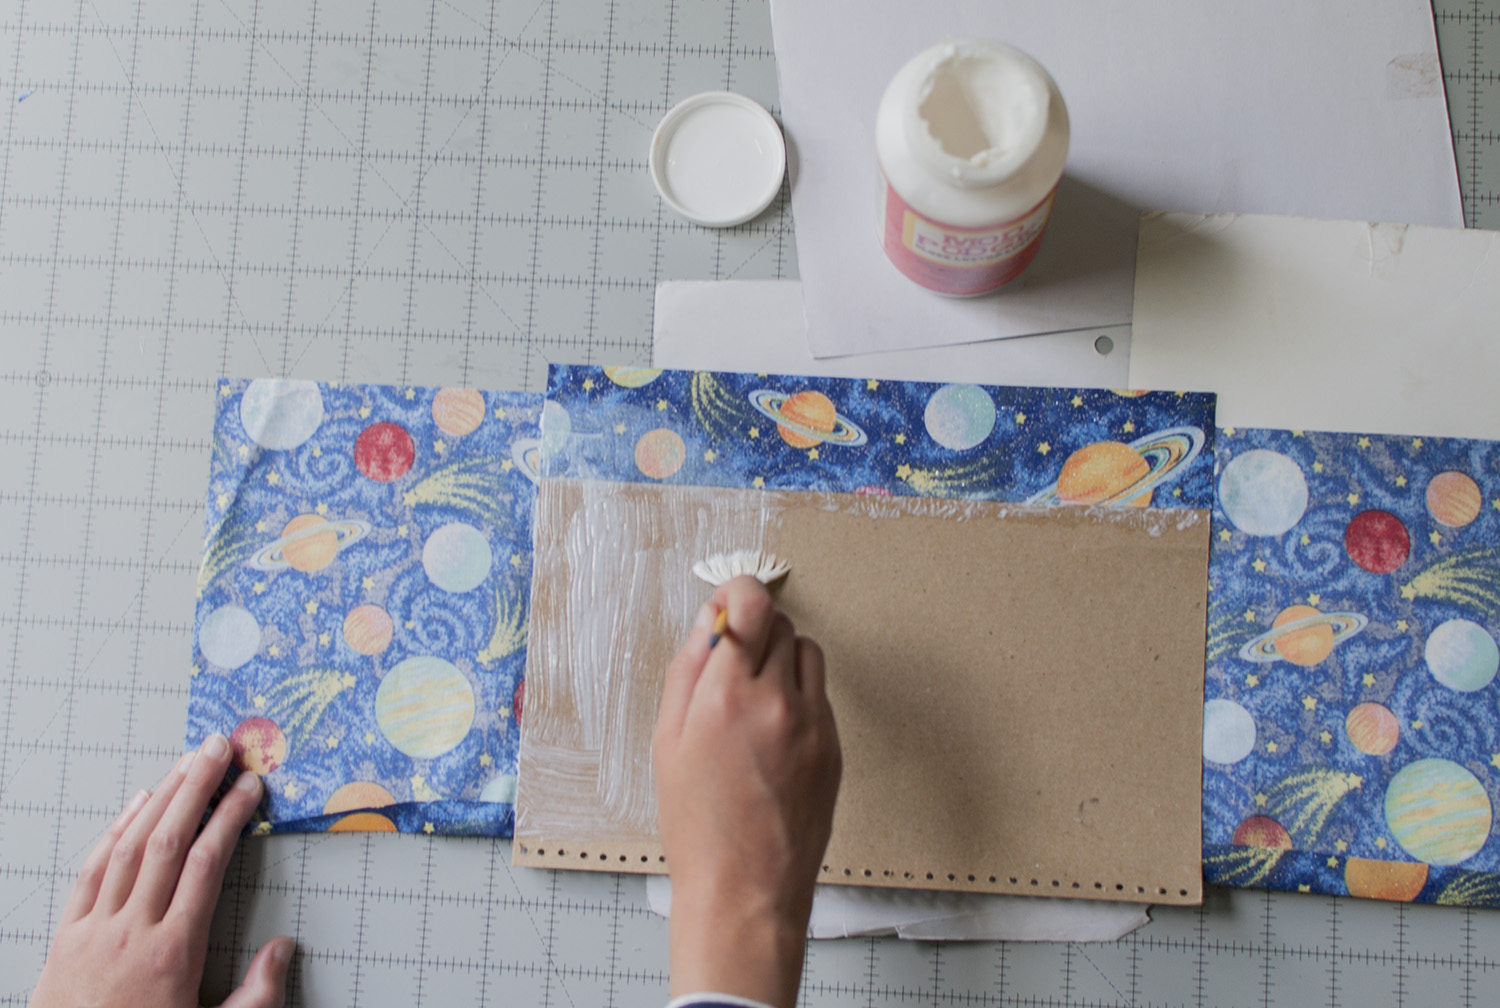
Once the front is stuck, flip it over and brush the top edge, folding the top flap down as shown, before beginning to brush one side, and folding that side over, followed by the other side.

Then brush a little bit on the raw edges so they won't fray, and wait for it to dry.
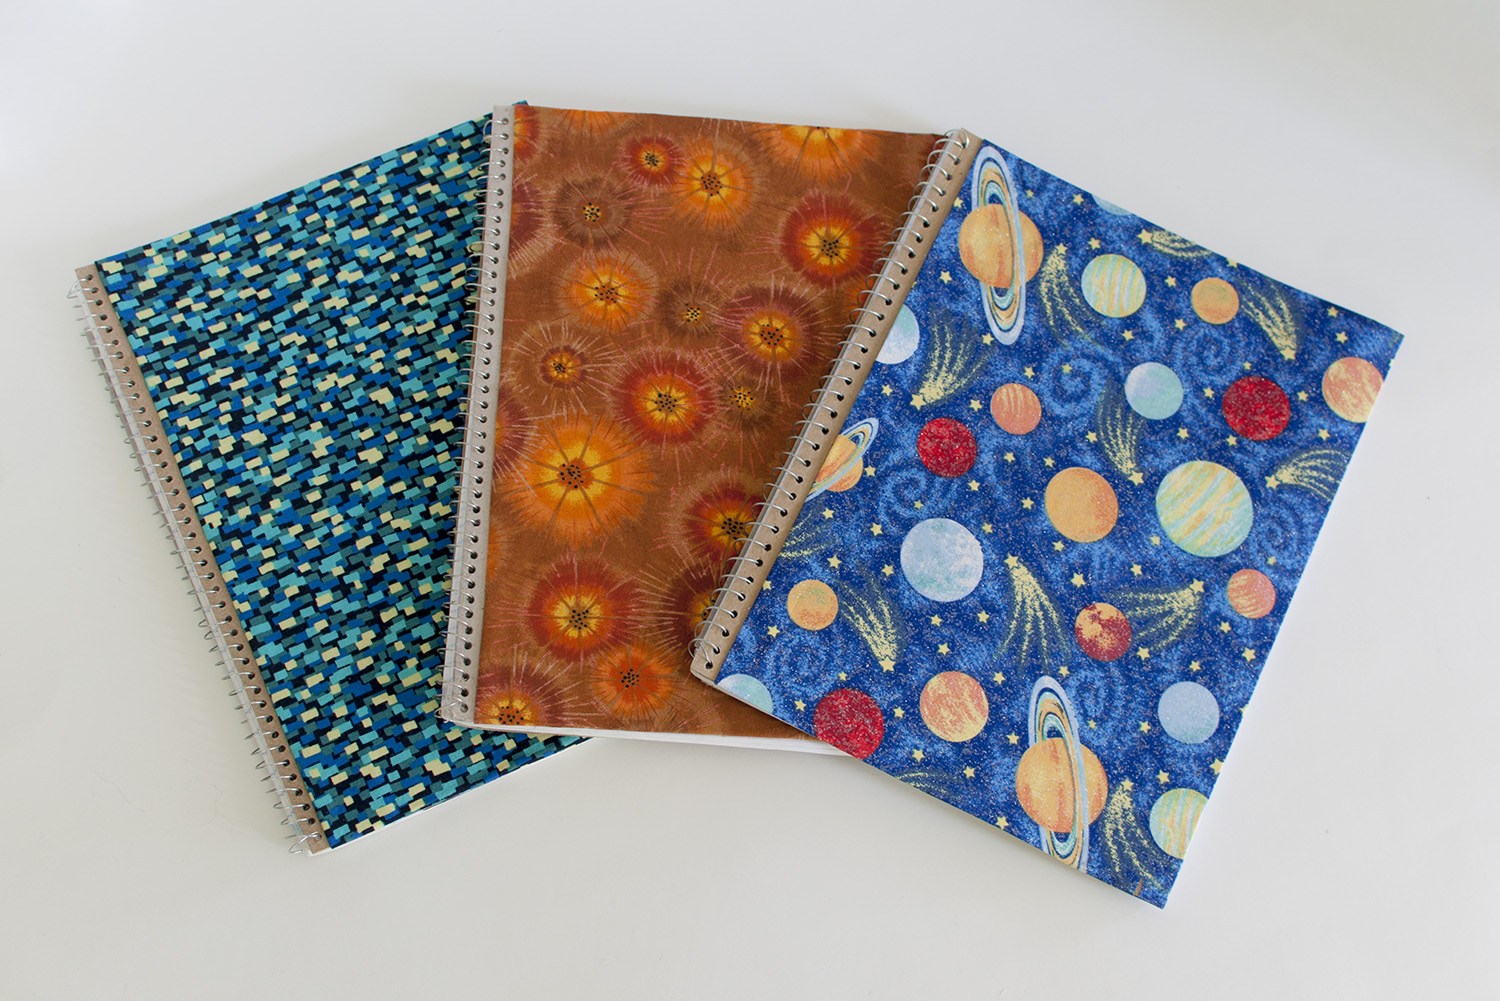
Finally, once the Mod-Podge is dry, l laid the new cover on top of the other pages, twisted the wire back in, and re-bent the ends with the pliers.
TA-DA!!!! You now have one super cool spiral bound notebook!

These are the original covers. See the improvement!